|
(Please bear with me as I continually update this section... some frames will not have pictures yet and are subject to change often.)
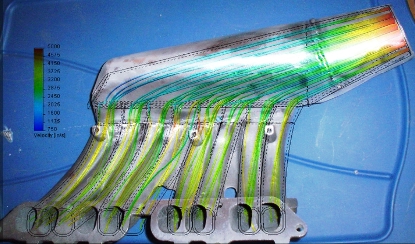
Sidefeed Intake Manifold with Servo-Control TVIS The oem MR2 3sgte intake manifold is not an ideal design, being a center-feed with a small plenum, which tends to provide unequal flow distribution and leaner mixtures to cylinders 2 & 3 result.
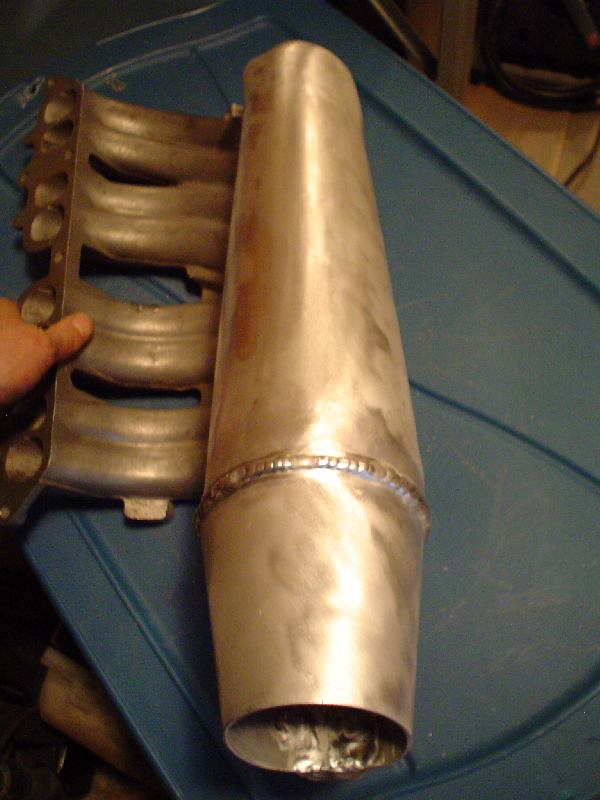
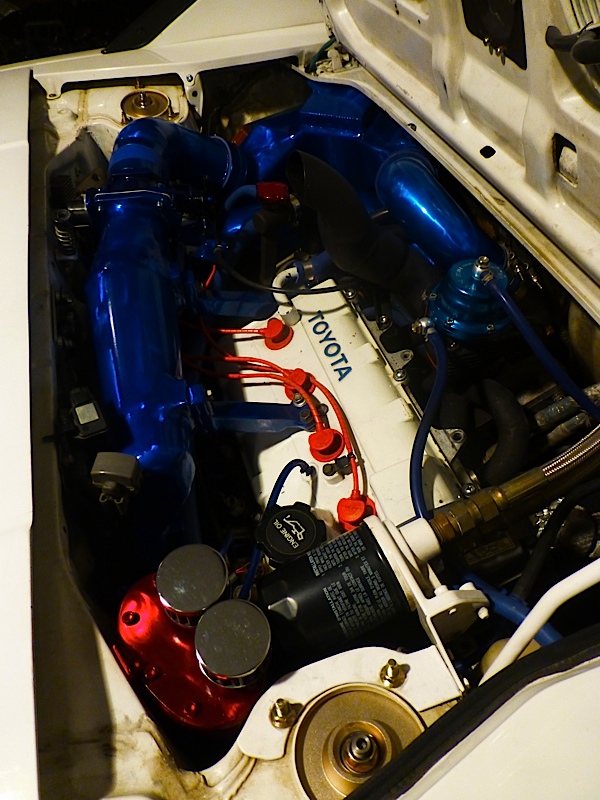
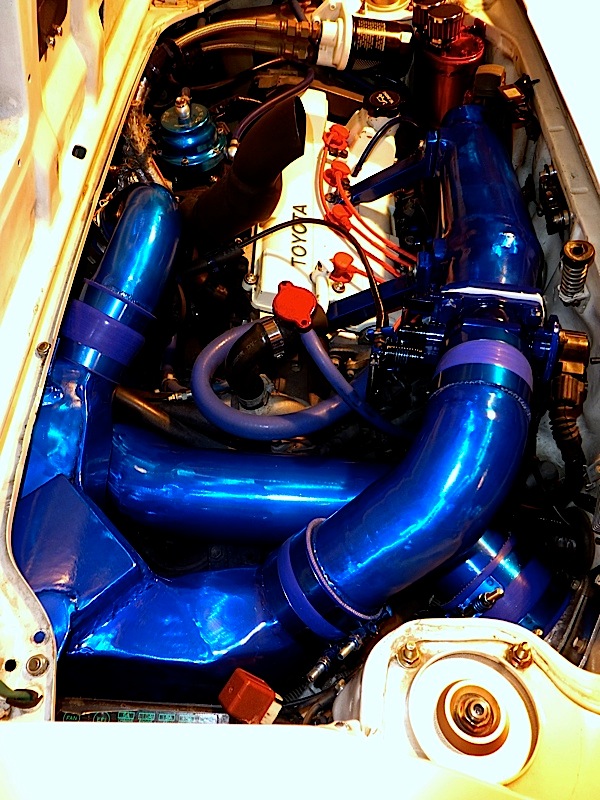
So I picked up a sidefeed manifold from the 3sgelc motor, which has the same TVIS design but has slanted runners towards the throttle body on the left side. The small plenum was cut off, the runner mouths ported and casting marks removed, and I TIG-welded on my new new plenum design.
Then I undertook a complicated project... I wanted to have comprehansive control over the TVIS opening/closing points, making adjustable, RPM-based, and incremental. Since I was planning to have my laptop installed in the car for various reasons including tuning and firewire stereo, I designed a patch in the Mac open-source electronic playground program Max MSP which utilizes an Arduino, Touch OSC, and my iTouch, which allows me to wirelessly control everything from my iTouch as well as display sensor information like A2W intercooler and ambient temperature, RPM's, AFR's, and the new TVIS control system. It also allows me to control iTunes and play the high-quality music wave-files from the computer itself, with firewire signal delivery to a digital interface. I made several You Tube videos to demonstrate the progress and functionality of the project:
Getting a reliable RPM siganl into my Arduino was a challenge, but I solved the issue when it occurred to me to utilize the Presonus digital interface (already installed for stereo duties) to listen to the ecu's IGT signal and analyze it in Max MSP. Signal processing is one of Max MSP strong points, even providing me with a re-sizeable oscilloscope displaying the actual square-wave signal. See video Part VI (above) for more details:
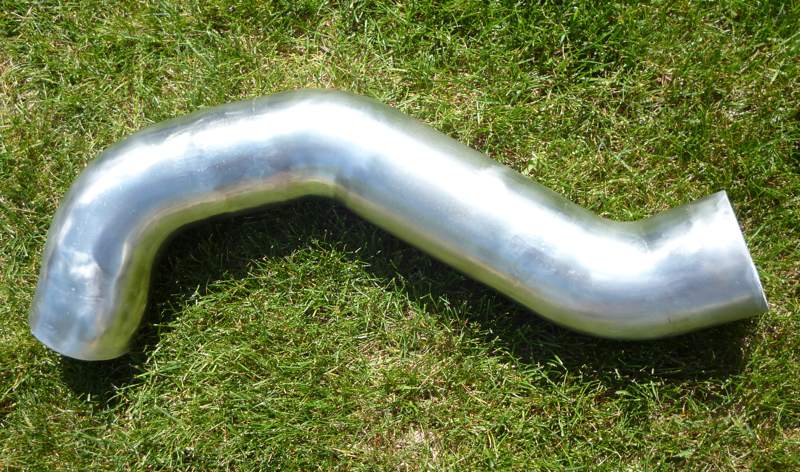
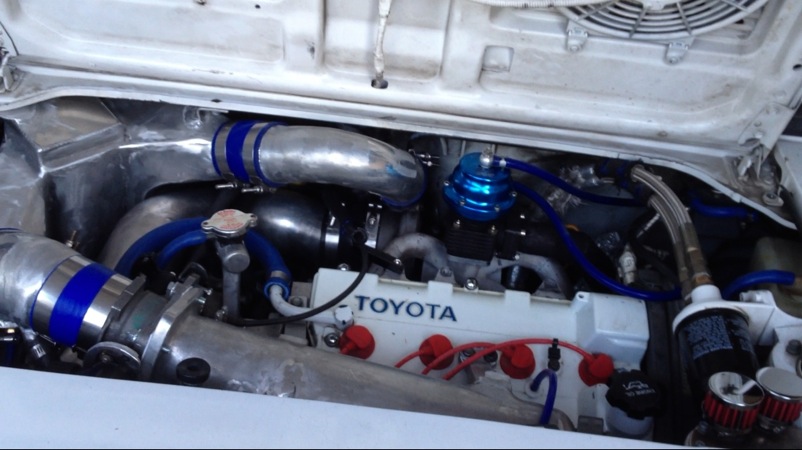
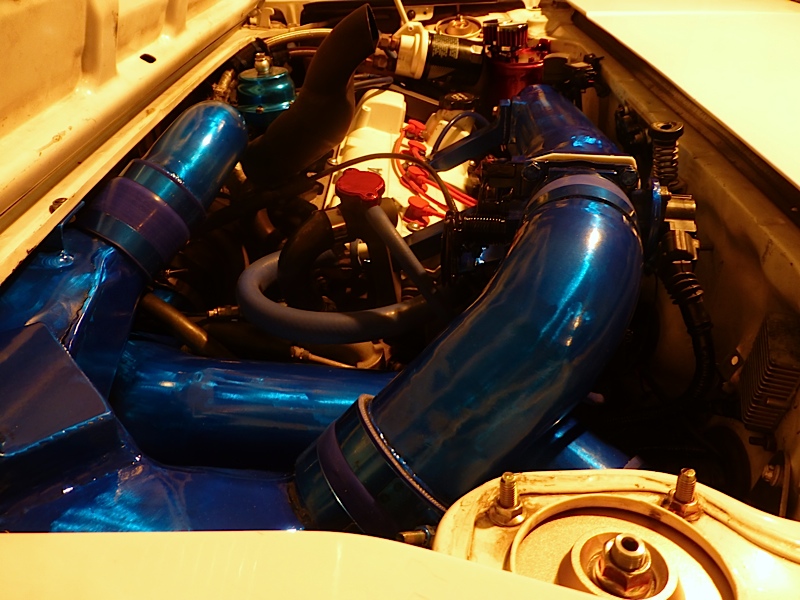
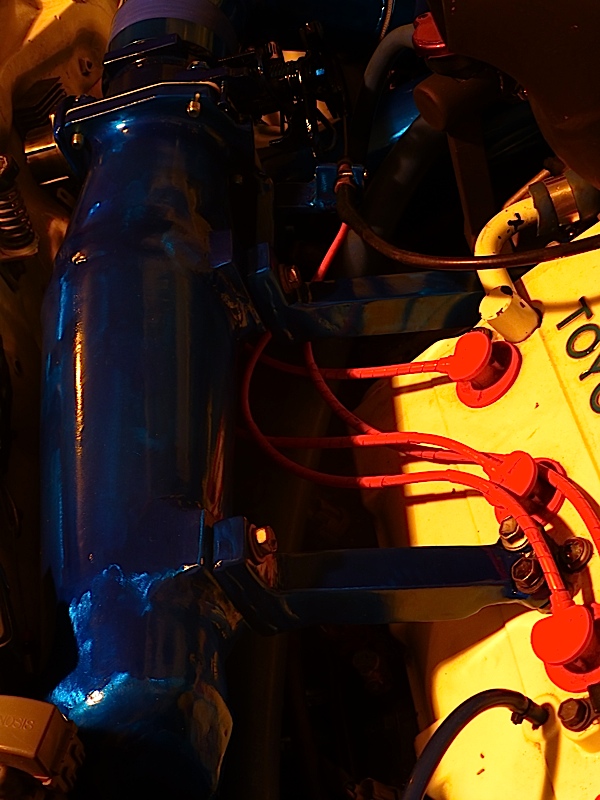
Custom-designed A2W Intercooler, Tubing, Intake, and 70mm Throttle-body With the installation of the new intake manifold comes a complete revamp of all intercooling tubing. The hotpipe will expand slightly from the GT3040 outlet to 2.5" and proceed to a new dual-core A2W IC I am Tigging up, with Bell cores . From the IC there will be a larger but short coldpipe, same diameter as the BBK 70mm throttle body (TB) inlet, around 3.5". Here is the 4" intake tubing, from my cold-air intake in the trunk, which will get as large a filter as can be fit when the AFM is eventually removed:
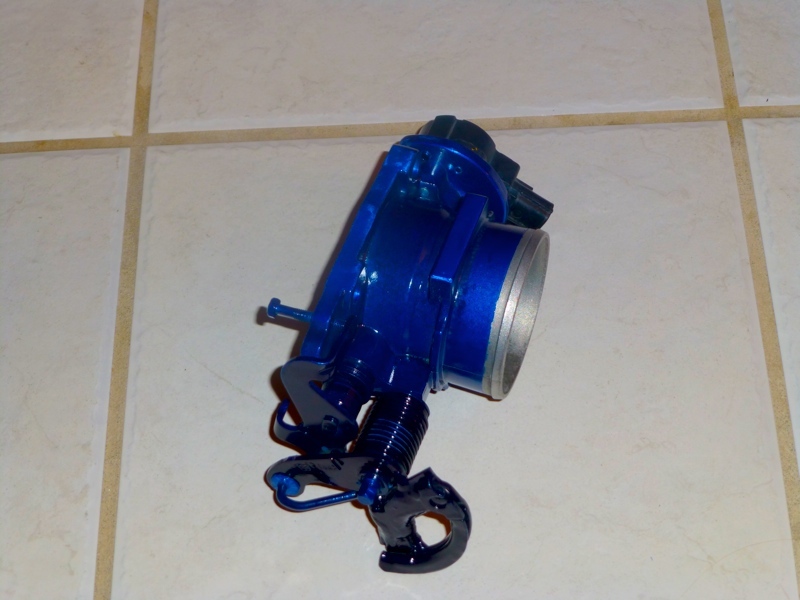
I was initially going to go with a BBK 70mm TB and a custom progressive TB cam, but I discovered that the shaft bearings would not hold boost. This is a problem for many aftermarket TB designs. Luckily I found this TB at the wrecker... it is from a Lincoln LS, 70mm, with a progressive linkage system. It initially leaked too, but because of its deep bearing channels I was able to squeeze in some oil-seal rings right next to the bearings, 10mm I.D. and 19mm O.D.:
Custom A2W intercooler design:
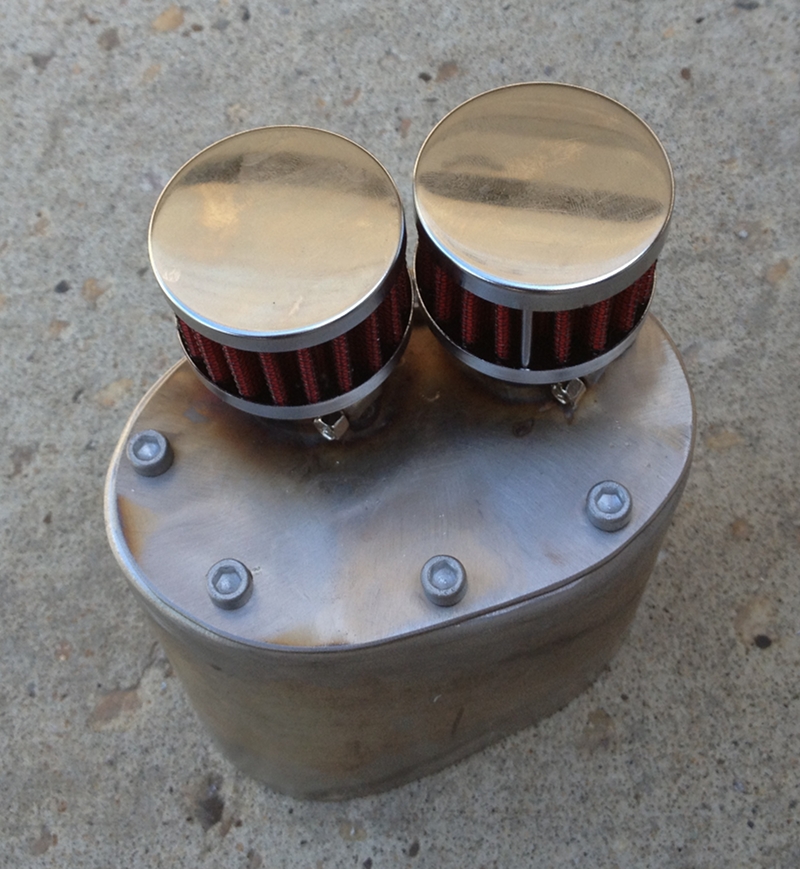
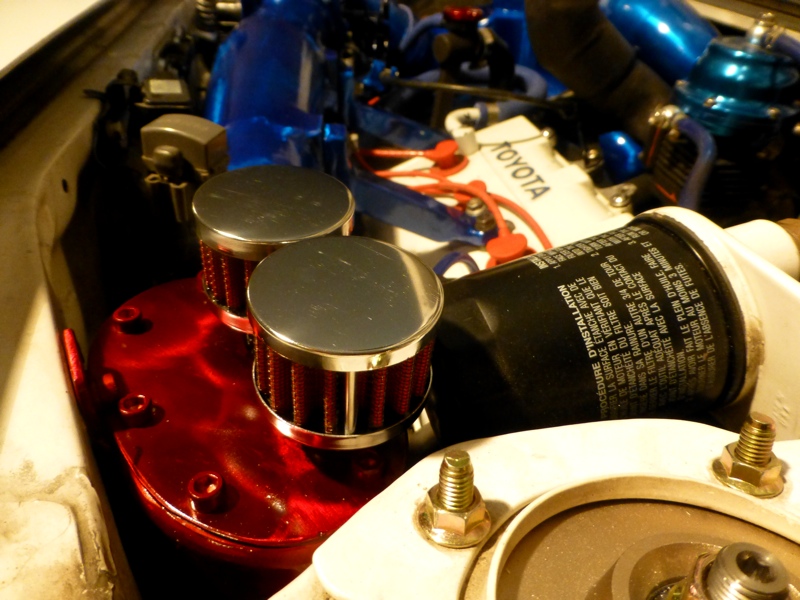
(2013) So everything needs some more road-testing, and then it will be off to get powdercoated/anodized. Designed and installed a catch-can too:
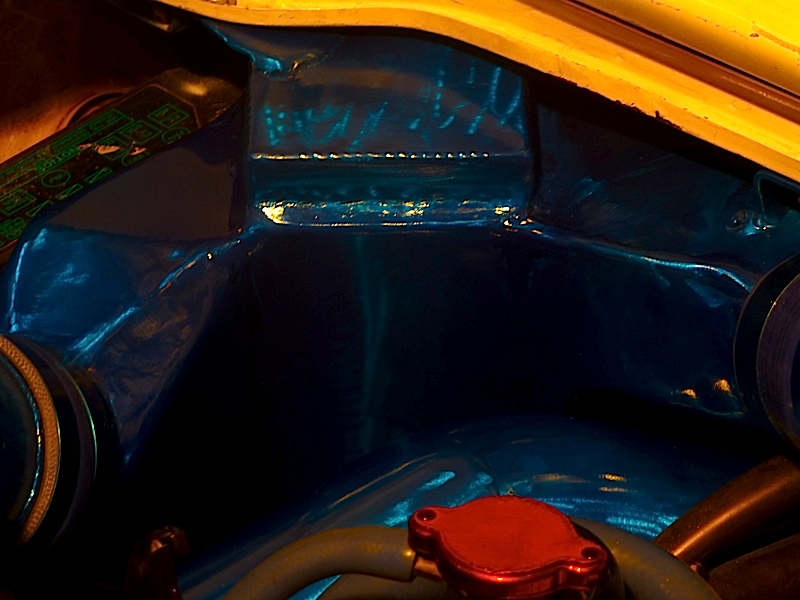
(2014) Tested, and then coated. The new theme includes the wheels, spacers, calipers and brake ducts:
Custom Aluminum 4" Exhaust with External Dump-Tube (2011) My first TIG-welding project was making the entire 4" aluminum exhaust, with stainless downpipe and stainless external dump-tube, and all-aluminum muffler (also see the exhaust section for many more pics):
(2013) You may have noticed in earlier pics that I have made up a new and much shorter external dumptube which exits out the top of the engine lid with a rearward-facing scoop. It is all-aluminum, ceramic-coated, and surprisingly has held up to rigorous boosting (heat) probably due to the available airflow in that location (also see the exhaust section for many more pics):
High Performance 192-amp Alternator From Ohio Generators, it uses a rebuilt MR2 100-amp casing and a custom small pulley for low RPM power output. Mounted with an aluminum RacerX alt bracket, it shaves nearly 16 pounds of weight:
J&S Interceptor Knock Control displayed in Mac software and on iTouch Following on the heels of my TVIS control and display on my iTouch via my Mac, I wrote software patches in Max MSP that accomodate the display voltage provided by the J&S Interceptor Safeguard Knock Control system. It required some smoothing using capacitors at my Freeduino micro-controller inputs, and some scaling to utilize the 0 - 1.3 volts that the J&S outputs for a display. The interface display on my iTouch was built using Touch OSC. In addition to the iTouch display, I converted an Autometer narrowband stoich guage since it is very close in voltage input range (0 - 1.2 volts) to make a secondary Knock retard display. Video here:
The converted Autometer narrowband display:
A bit Borg-like... in fact I am sure I have seen this LED-array on a Borg at some point, lol:
LC-1 Wideband Displayed on Mac and iTouch After writing the patches for the J&S Interceptor display, the LC-1 Wideband display was delightfully easy. All I had to do was change the scaling from 0 - 1.3v (for the J&S) to 0 - 5v. Then just had to install the WB O2 sensor:
Made an aluminum heat-shield for the O2 sensor from a dead inverter:
|
|||||||||||||||||||||||||||||||||||

|
||||||||||||||||||||||||||||||||||||

|
||||||||||||||||||||||||||||||||||||
|
|
||||||||||||||||||||||||||||||||||||
|
Current Performance Projects
|
